Regular flushing with freshwater is key to maintaining any outboard motor used in saltwater. Most outboard manufacturers recommend a freshwater flush after every use in saltwater to clear the cooling passages of salt residue and scale that can accumulate and impede the flow of vital cooling water through the engine. Outboards used in brackish water, or in freshwater that’s silty or muddy, should also be flushed. Flushing is usually an easy procedure, and can often be accomplished with the boat on a trailer or in the water at a dock or mooring.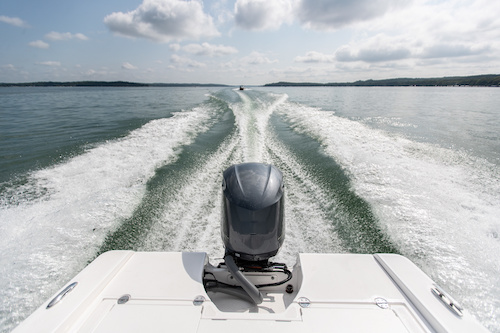
Instructions for flushing an outboard vary by brand and model and can be found in the owner’s manual. If your manual is missing, you may be able to find a digital copy online, or a dealer can order a new paper copy for you. Follow those instructions exactly as it’s possible to damage the water pump impeller, or to flush the motor incompletely, if you flush the motor incorrectly.
Note: Never start an outboard motor without a water supply—it must either be in the water or connected to a hose providing water. Water lubricates the vanes of the rubber water pump impeller, and running the motor without a water supply for even a few seconds can damage or destroy the impeller.
6 Tips Flushing an Outboard Motor
- Remember to never start an outboard motor without a water supply.
- Consult your owner's manual for specific instructions related to your brand or model.
- Utilize your built-in flush connection (if available).
- Use a flush muff to fit over the cooling water intake with a garden hose.
- Apply a flushing bag or bucket, fitted with a garden hose.
- After flushing, ensure all the fresh water is drained from the motor.
Compare Different Engine Types
Different Ways to Flush an Outboard Motor
There are a couple of ways to flush an outboard:
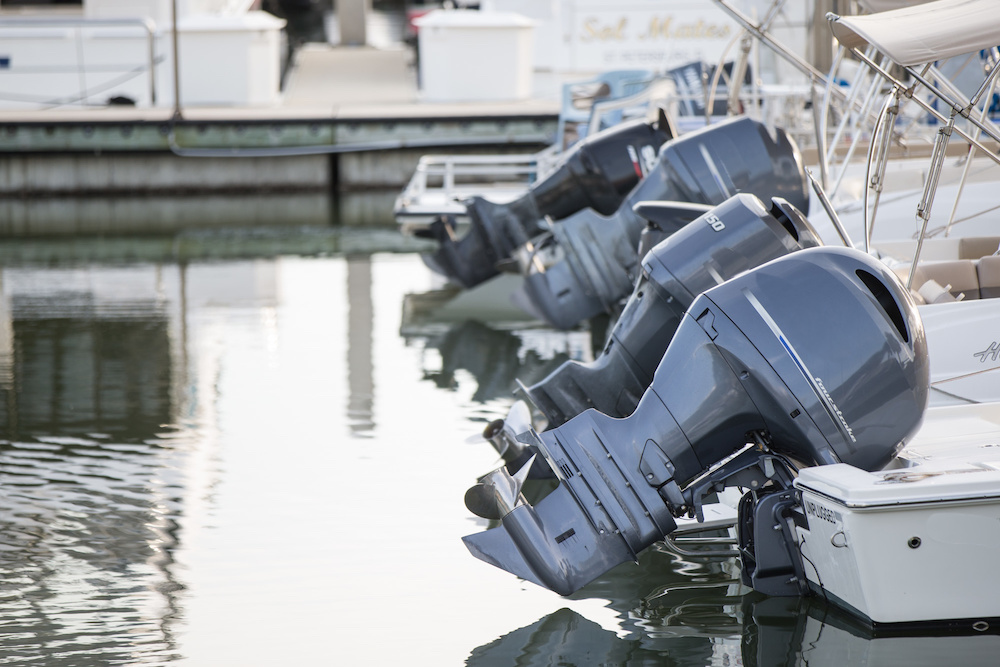
Built-In Flush Connection
Most outboards manufactured in the last 10 to 15 years have a built-in flush connection that either uses a snap fitting adapter or a threaded fitting to connect the motor to a garden hose. This fitting may be located on the motor facing the boat, or it may be located under the cowl or under a cover in the midsection. Outboards equipped with this type of fitting often can be flushed without starting the motor, and in fact may be designed to be flushed without starting the motor—read the owner’s manual for specific instructions.
If the boat is kept at a dock this type of flush connection usually can be used to flush the motor when it its tilted clear of the water. After connecting the hose to the motor, let the water run for about 10 minutes or as instructed in the owner’s manual.
Using Flush Muffs
Flush muffs look like big earmuffs. The rubber cups fit over the cooling water intake ports on the outboard gearcase and are held in place by a metal spring or clamp. A garden hose is attached to one of the rubber cups.
- After attaching the cups to the gearcase and starting the water flow, the motor is started and allowed to idle in neutral—so that the propeller does not start turning, which would be dangerous—to circulate the fresh water through the motor.
- When the motor starts you should see water flowing out of the “tell-tale” that indicates that water is being pumped through the motor.
- Let the motor idle in neutral for about 10 minutes as fresh water is pumped through the motor.
- Don’t leave the boat unattended while the flushing process is underway. If the muffs fall off or don’t have a tight seal on the gearcase the motor should be shut down immediately or the water pump impeller will be damaged.
- Turn the motor off before turning off the water supply. Not all outboards can be flushed with muffs. Some have multiple water inlet locations and those not covered by the muff will need to be to be sealed with duct tape. Others may have inlets that cannot be covered with the muffs.
- Again, check the owner’s manual for specific instructions. Some require that the propeller is removed when using flushing muffs.
Flushing Bags or Buckets
A flushing bag is a soft plastic, canvas or vinyl bag with a fitting for the garden hose. With the boat on its trailer and the motor tilted down, the bag is fit around the gearcase and filled with water so that the cooling water inlets are covered.
- When the motor is started it will pump water from this reservoir and the hose will maintain the water level.
- Again, do not leave the motor unattended while flushing is underway and make sure that water is flowing from the tell-tale.
- A motor can be flushed in this manner with a large pail or barrel as long as a water supply is keeping the water level in the container above the gearcase inlets.
- Note that to use most flushing bags the propeller must be removed from the outboard.
After Flushing Your Outboard Motor
Following the instructions in the owner’s manual to make sure that all the fresh water is drained from the motor. This is especially important if the temperature is or will be below freezing—if water freezes in the engine it could damage the engine block. In most cases this is as simple as lowering the motor all the way down with the boat level on its trailer.